Training Tips
![]()
Joining and Leaving Email Distribution Lists
Stockton’s email system has many distinct distribution lists, encompassing groups and organizations throughout the institution. While some of these distribution lists have automatic membership, it’s possible to leave or join specific lists depending on your interests. Check out our instructions below on how to quickly join or leave an email distribution list!
- In your web browser, navigate to Office 365 at: https://outlook.office.com/mail/inbox
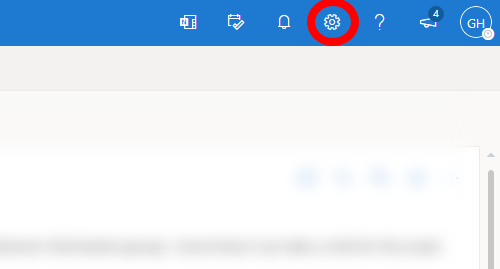
You will be prompted for an email and a password. This will be your Firstname.Lastname@stockton.edu email address and your normal goPortal password. - Click the gear button in the top right corner of the screen.
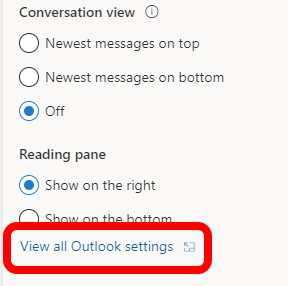
- Click 'View all Outlook settings' at the bottom of the Settings panel.
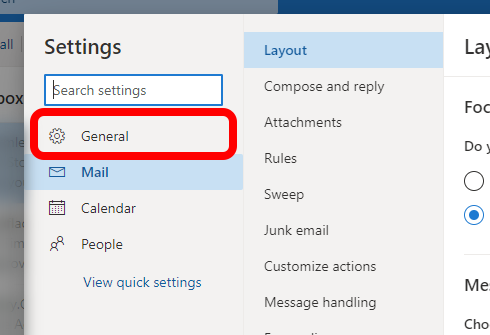
- Click 'General' in the leftmost pane.
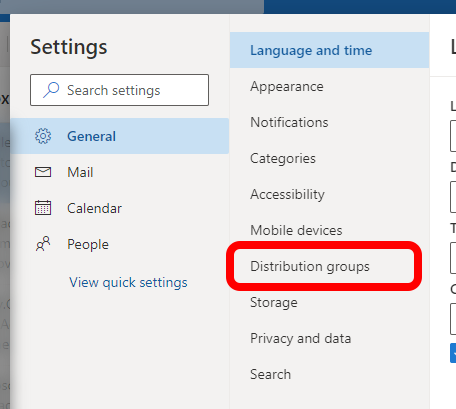
- Click 'Distribution groups' in the list of options that just opened up. Note that it may take some time for
the list to show up and populate.
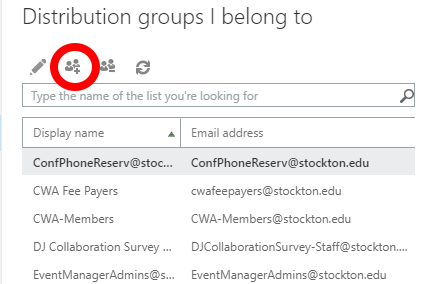
- Within the 'Distribution groups I belong to' section, click the 'Join..' button, it looks like two people with a plus (+) sign.
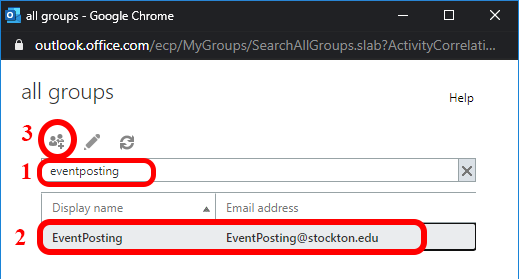
- Search for the group you'd like to add yourself to using the search box or by scrolling
through the list. Then click the 'Join..' button.
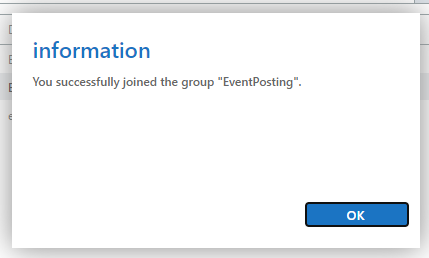
- A confirmation box will pop up showing whether you were successfully added.
- In your web browser, navigate to Office 365 at: https://outlook.office.com/mail/inbox
You will be prompted for an email and a password. This will be your Firstname.Lastname@stockton.edu email address and your normal goPortal password. - Click the gear button in the top right corner of the screen.
- Click 'View all Outlook settings' at the bottom of the Settings panel.
- Click 'General' in the leftmost pane.
- Click 'Distribution groups' in the list of options that just opened up. Note that it may take some time for
the list to show up and populate.
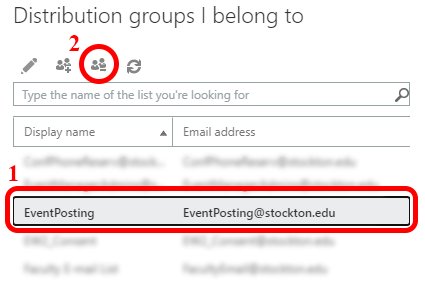
- Within the 'Distribution groups I belong to' section, select the group you want to leave from the list. Click the 'Leave' button, it looks like two people with a minus (-) sign.
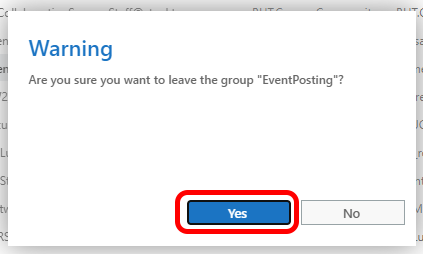
- Verify the name of the group you are trying to leave and then click the 'Yes' button to leave the selected distribution group.
- There will be no confirmation box to show if you left the group, so you can verify you left the group by making sure it no longer shows in the list of distribution groups that you belong to.
Previous Tips