Adding an Image
Image file Conventions and Best Practices
We recommend the following file formats: jpg, png, & gif
Recommended image sizes (measured in pixels):
- For the full width of editable region of the page - 848 pixels in width
- For one half the width of the editable region - 425 pixels in width
- For one third the width of the editiable region - 300 pixels in width
- All images should be 72 DPI (dots per inch)

Learn how to insert, position, and preview an image in the Modern Campus CMS system.
How to Add an Image
1. Open the region you wish to edit
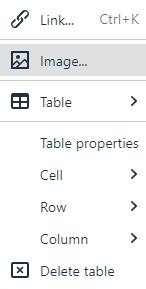
2. In the editor, select the insert image icon ![]() or right click and select Insert/Edit Image.
or right click and select Insert/Edit Image.
3. A dialog box will open to select the image you wish to add to the page. Click on
the browse icon ![]() to select your image.
to select your image.

4. Fill out the fields accordingly
- Alternative Description: This is the alt-text for the image and is required for the accessibility reader. Tip: think how you’d briefly describe the image over the phone to someone.
- Width and Height: This will default to the current size of the image, this can be edited depending on the restrictions of your sites CSS
- Class: The CMS has style classes setup for use when using images on a page. You can apply the Image left, Image right or Image centered classes to position the image alongside other content on the page.
5. Click the OK button and the image will be placed onto the page where you had placed your cursor.