Getting Started
Faculty/Staff Note
Faculty and Staff require approval before connecting to Horizon View VDI. To begin the provisioning process fill out the Remote Access Request Form.
App Stream VDI Access Instructions
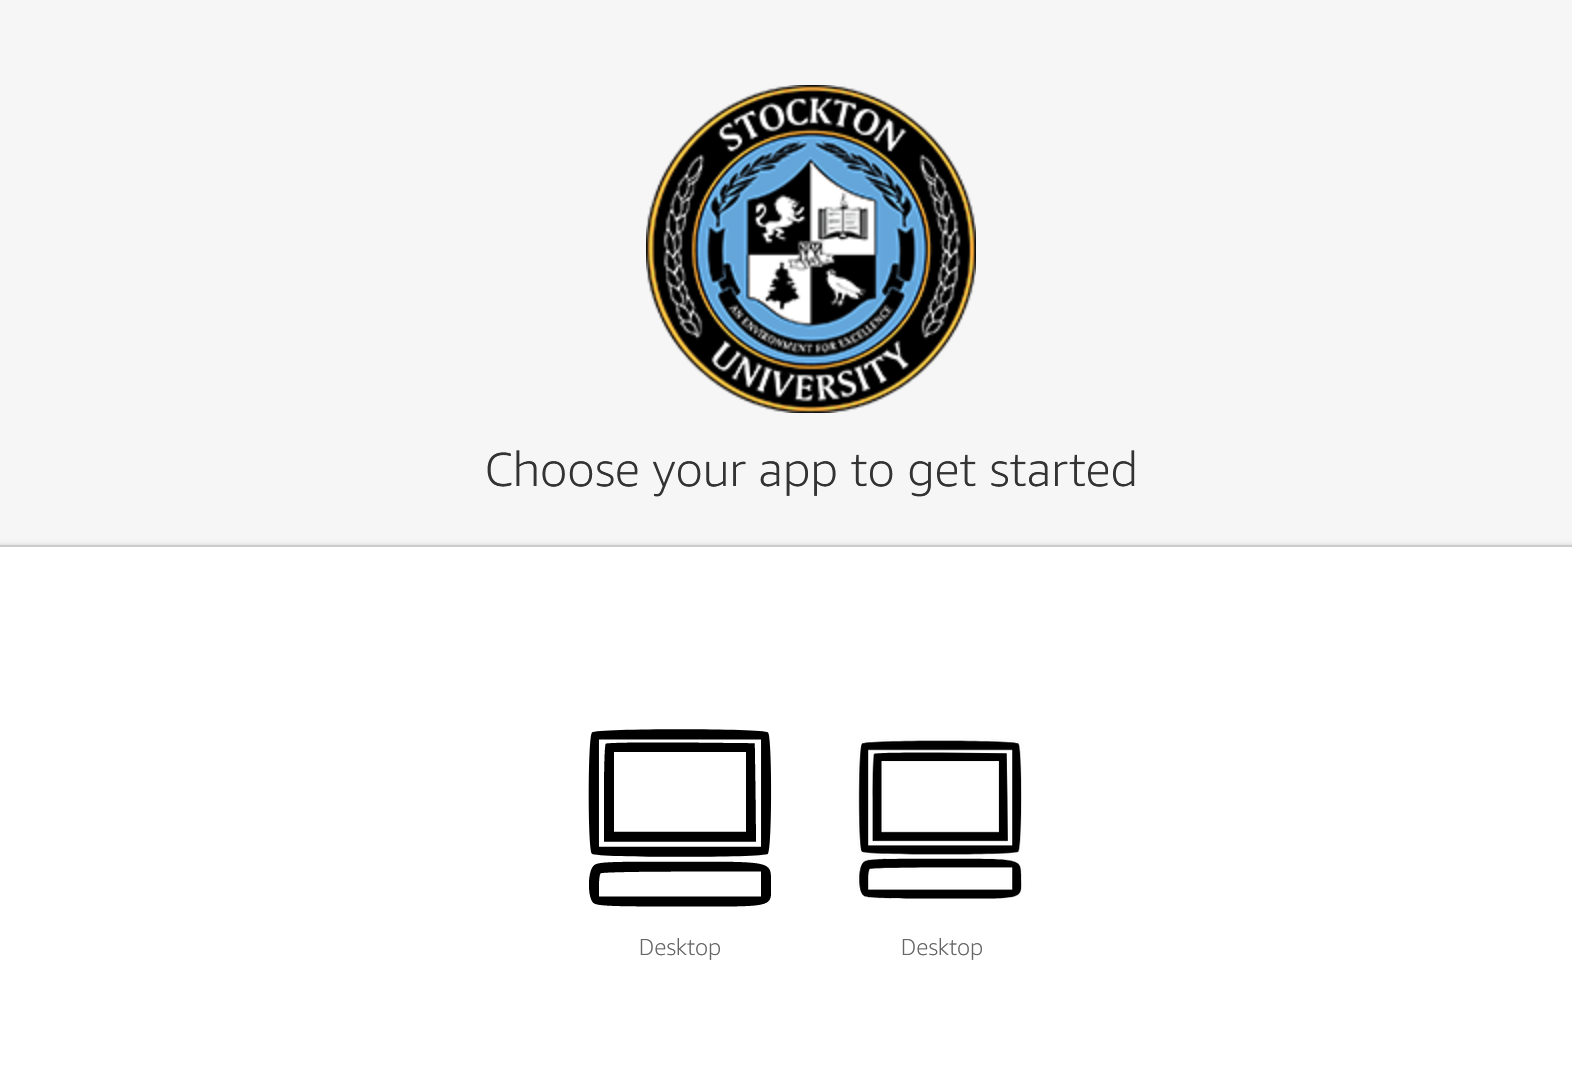
- Select the appropriate App Stream VDI experience (Student or Staff) on our VDI page, then log in using your GoPortal credentials.
- After login, you will be prompted to select one of two "Desktop" options - each are
identical.
- A progress meter will display, then 2-3 minutes should elapse while a desktop instance is generated and initialized. When that process is complete, you'll be prompted to enter your GoPortal password once more. At this point you'll be presented with an active VDI window.
We recommend accessing Horizon VDI in your web browser on a Laptop or Desktop device whenever possible because it will provide the easiest user experience. Although many different mobile web browsers support access to VDI some features may not work properly. For instructions on how to configure your mobile device with the VMware Horizon app see the instructions below for Android and IOS.
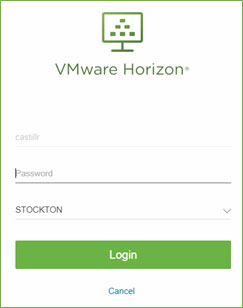
On a web browser that supports HTML5 navigate to http://vdi.stockton.edu. Faculty and Staff should use the Faculty & Staff link, Students should use the Student link.
- Authenticate with your GoPortal credentials and approve the login attempt with Duo 2-factor authentication.
- Provide the system with your GoStockton password
- Once connected, click on the desktop icon to start a session.

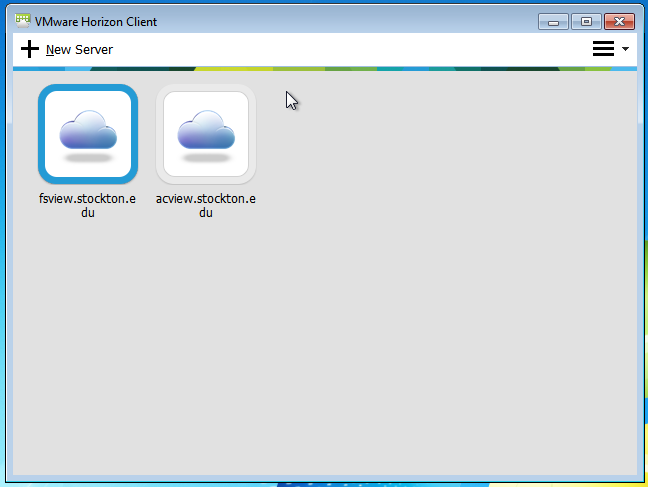
Begin by downloading the appropriate client for your platform:
Install the client and, if appropriate, restart your device before running it for the first time.
When asked to input a connection server, Faculty and Staff should enter "fsview.stockton.edu" and students should enter "acview.stockton.edu". Click on the available server to initiate an connection to a virtual desktop.
Faculty and Staff will be prompted to accept our Terms of Service before connecting. Enter your GoPortal username and password, and you will be prompted to approve the login attempt with the Duo 2-Factor authentication service. If you require assistance with installing and configuring the Horizon View VDI client, please contact the helpdesk at 609-652-4309.

